Vinyl flooring is a popular choice for many homeowners due to its durability, affordability, and ease of maintenance. However, like any flooring material, it can become worn or damaged over time, necessitating removal and replacement. In this guide, we’ll walk you through the step-by-step process of removing and replacing vinyl flooring, ensuring your project is as smooth as possible.
Why Choose Vinyl Flooring?
Before we dive into the removal and replacement process, let’s briefly explore why vinyl flooring is a favored option:
- Affordability: Vinyl flooring is generally less expensive than other flooring materials like hardwood or tile.
- Durability: With proper care, vinyl can last for many years, resisting scratches and moisture.
- Ease of Maintenance: Cleaning vinyl flooring is straightforward, requiring just a damp mop and mild detergent.
- Variety of Styles: Available in a wide range of colors and designs, vinyl can mimic the look of more expensive materials.
When to Replace Vinyl Flooring
While vinyl flooring is resilient, there are several indicators that it may be time for a replacement:
- Visible Damage: Scratches, tears, or other visible damage can detract from the appearance of your floors.
- Discoloration: Fading or discoloration can occur due to sunlight exposure or age.
- Peeling Edges: If the edges of your vinyl are curling or peeling, it may be a sign of moisture damage.
- Water Damage: Signs of water damage, such as warping or mold, indicate a need for replacement.
Tools and Materials Needed
Before starting the removal and replacement process, gather the following tools and materials:
Tools
- Utility knife
- Floor scraper or putty knife
- Pry bar
- Hammer
- Measuring tape
- Straightedg
- Safety goggles
- Knee pads
Materials
- New vinyl flooring
- Adhesive (if required)
- Underlayment (optional, depending on the type of vinyl)
- Flooring transition strips (if needed)
Step-by-Step Guide to Removing Vinyl Flooring
1. Prepare the Area
- Clear the Room: Remove all furniture, appliances, and rugs from the area.
- Inspect the Subfloor: Check for any damage or moisture issues that may need to be addressed before installing new flooring.
2. Remove the Old Vinyl Flooring
- Cut the Vinyl: Using a utility knife, cut the vinyl into manageable strips (about 6-12 inches wide).
- Peel Away the Strips: Begin peeling the vinyl from one corner of the room. If the adhesive is stubborn, use a floor scraper to help lift the vinyl.
- Remove Adhesive Residue: Once the vinyl is removed, scrape off any remaining adhesive from the subfloor using a putty knife or floor scraper.
3. Clean the Subfloor
- Sweep and Vacuum: Thoroughly clean the subfloor to remove dust and debris.
- Inspect for Damage: Look for any imperfections that may need to be repaired before laying new flooring.
Installing New Vinyl Flooring
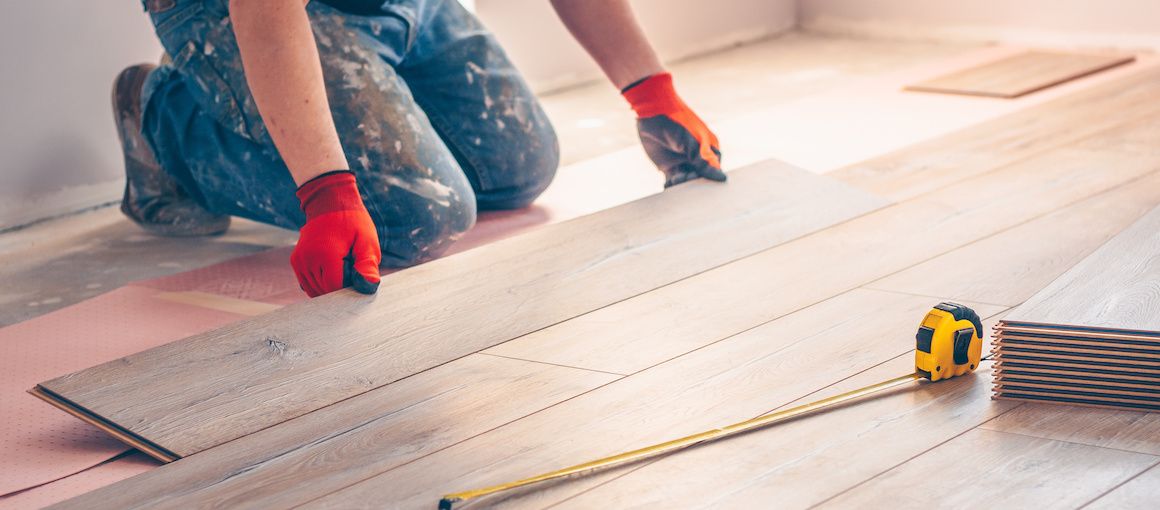
4. Measure and Cut New Vinyl
- Measure the Area: Use a measuring tape to determine the dimensions of the space where you’ll be installing the new vinyl.
- Cut the Vinyl: Cut the new vinyl flooring to fit the measured area. Always leave a little extra (about 1/4 inch) around the edges to allow for expansion.
5. Lay the Underlayment (Optional)
If your new vinyl requires underlayment, roll it out over the subfloor, ensuring it fits snugly without any overlaps.
6. Install the New Vinyl Flooring
- Start in a Corner: Begin laying the vinyl in one corner of the room. If using adhesive, apply it as directed.
- Fit the Pieces Together: Press the pieces together, ensuring they fit tightly and correctly align.
- Trim Edges: Use the utility knife to trim any excess vinyl along the walls and corners.
7. Apply Transition Strips (If Needed)
If your new vinyl flooring abuts other flooring types, install transition strips to create a smooth transition between surfaces.
8. Clean Up
- Remove Any Debris: Clear away any leftover materials and clean the area.
- Allow Adhesive to Set: If you used adhesive, allow it to set according to the manufacturer’s instructions before walking on the new flooring.
Maintenance Tips for Vinyl Flooring
To keep your new vinyl flooring looking great, follow these maintenance tips:
- Regular Cleaning: Sweep or vacuum regularly to remove dirt and debris. Mop with a damp cloth using a mild cleaner.
- Protect from Heavy Furniture: Use furniture pads to prevent scratches and indentations.
- Avoid Harsh Chemicals: Do not use abrasive cleaners or tools that may damage the surface of the vinyl.
Conclusion
Replacing vinyl flooring may seem like a daunting task, but with the right tools and a bit of patience, you can transform your space with ease. By following this comprehensive guide, you’ll ensure a smooth process from removal to installation.
For more resources on flooring options and tips, visit Flooring World. Whether you’re looking for advice on maintenance or inspiration for your next flooring project, you’ll find valuable insights to guide you.
Embrace the change and enjoy your new vinyl flooring, making your home more comfortable and visually appealing! For additional guidance and high-quality flooring options, don’t forget to check out Flooring World again.
Additional Resources
For those considering a flooring update or replacement, exploring various options can be beneficial. To find the perfect fit for your home, take a look at the extensive selection at Flooring World.