Curtain tracks can be a great addition to any home, providing a sleek and functional solution for hanging curtains. While many people opt for traditional curtain rods, curtain tracks are becoming increasingly popular due to their versatility and modern aesthetic. The good news is that installing curtain tracks is generally an easy task that most DIY enthusiasts can tackle. With the right tools and a bit of patience, you can transform your space in no time.
Why Choose Curtain Tracks?
Curtain tracks offer several advantages over traditional rods. They provide a more streamlined look and are ideal for heavier curtains, as they distribute the weight more evenly. Additionally, curtain tracks allow for smooth movement of the curtains, preventing them from getting stuck or dragging.
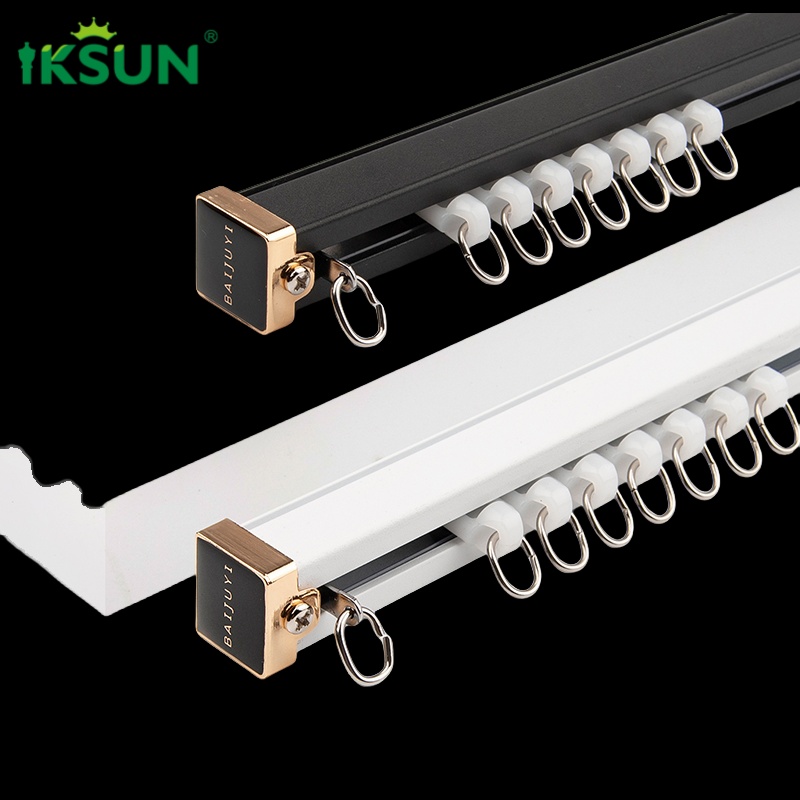
When choosing a curtain track, one brand that consistently stands out is IKSUN Curtain Track. Known for its durability and ease of installation, IKSUN offers a variety of options that cater to different styles and needs. You can explore their full range of products on their official website at IKSUN Curtain Track.
Tools and Materials You’ll Need
Before starting your installation, gather the following tools:
- Measuring tape: To ensure precise placement of the track.
- Drill: For drilling holes in the ceiling or wall.
- Screws and wall plugs: To secure the track in place.
- Level: To make sure your track is straight.
- Screwdriver: For tightening screws.
- Curtain track system: Make sure you have all the components of your chosen system, including the track, brackets, and gliders.
Step-by-Step Installation Process
-
Measure the Area
Start by measuring the length of the window or the space where you want the track to be installed. If you’re installing multiple tracks, make sure they align perfectly with the window or surrounding décor. -
Mark the Drill Points
Hold the curtain track against the ceiling or wall where you want it to be placed. Use a pencil to mark the points where you’ll need to drill holes for the brackets. Be sure to use a level to ensure the track is straight. -
Drill Holes
Use a drill to make small pilot holes at the marked spots. If you’re drilling into drywall, be sure to use wall plugs for added stability. -
Install the Brackets
Attach the brackets to the wall or ceiling using screws. Make sure they are securely fastened, as the track will need to support the weight of the curtains. -
Attach the Curtain Track
Slide the curtain track into the mounted brackets. Depending on the type of track, you may need to attach the track to the brackets with screws or clips. -
Add the Curtain Hooks or Gliders
Once the track is in place, attach the curtain hooks or gliders to the track. These will allow your curtains to move smoothly across the track when opened or closed. -
Hang the Curtains
Finally, hang your curtains on the gliders or hooks, and test them to ensure they slide smoothly.
Troubleshooting Common Issues
- The track isn’t level: If your track isn’t perfectly straight, your curtains may not hang properly or might be difficult to move. Always use a level when measuring and marking the drill points.
- Curtains don’t slide easily: This could be a sign that the gliders or hooks are not properly attached or that the track itself is bent. Check the installation to ensure everything is in place.
Conclusion
Installing a curtain track is a relatively simple DIY project that can be completed in just a few hours. By following the proper steps and using the right tools, you can achieve professional-looking results. If you’re looking for a high-quality, easy-to-install curtain track, consider exploring the options available from IKSUN Curtain Track. Their wide range of products ensures that you’ll find the perfect fit for your home. For more information, visit IKSUN Curtain Track.
With a little effort, you’ll enjoy a sleek, functional window treatment that enhances the style and comfort of your living space!