People of England, Australia, India and many other countries love to watch and play cricket. Many connect towards this sport with passion and enthusiasm towards cricketers. You can even see children and youth engaging in cricket on the streets, playgrounds, etc.
While cricket is a joyful, interactive and enthusiastic game, you should ensure the ball is not causing harm to people or property surrounding your neighbourhood. Always ensure that the game you play does not become a tragedy for others.
You should allocate a safe space for training, batting and bowling and ensure that the balls do not smash the windows and doors of the neighbours.
So, if you are thinking of constructing a stadium near your home, then backyard cricket nets are the best equipment to begin your journey into the sport. You can keep practising the game without worrying that the balls will get smashed into other things.
You can follow this guide below if you want to construct your own cricket stadium near your home.
1. Planning how much space is needed
Before building the stadium, ensure that much space is sufficient space. You have to measure the area and think about how much is needed. For instance, the length should be 20 – 30 meters, the width should be 3 – 4 meters, and the height should be 3 – 4 meters. If you have these measurements in your backyard, you can go ahead with the construction process.
2. Gathering the required materials
Building a cricket stadium doesn’t need to be extravagant; however, gathering sufficient supplies is important. Remember that the equipment need not be costly or professional. Ensure that you have a proper netting made of durable nylon or polyethylene. The next thing is poles or posts that are made of steel or timber. You should also have ground anchors to secure the poles and ropes or wires to ensure stability of the structure. If you want matting, which is optional, you can consider materials like coir, synthetic turf, pitch mats, etc.
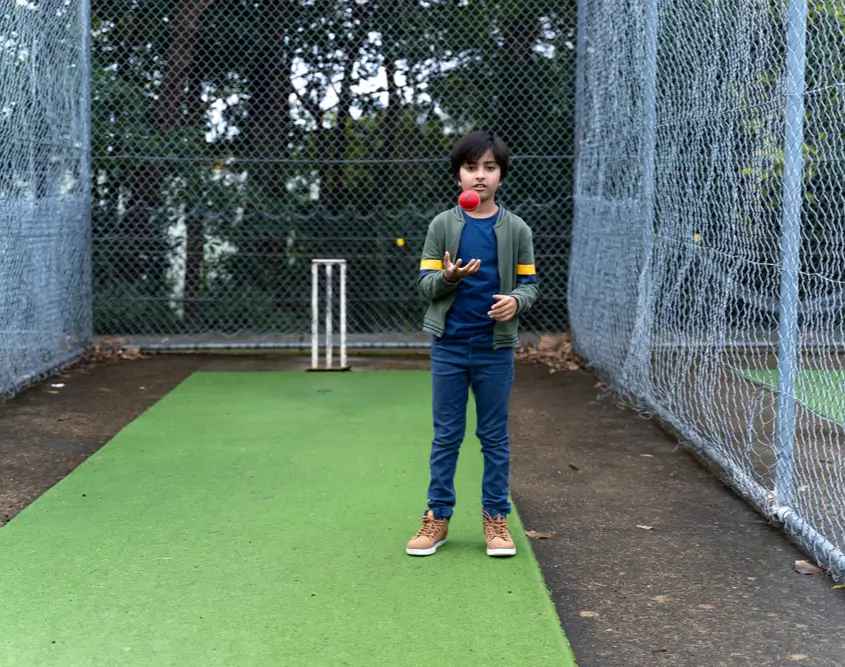
3. Installing the surrounding frame
The next part is to dig holes in the ground. While digging, the hole should be 60 – 90 cm deep for the poles. After that, place the poles so that they are firmly attached to the ground. If you want more firmness, you can add concrete to get stability to the pole structure. The placement of the poles should be even, and the frame should be tall so that it can prevent balls from flying out.
4. Fixing the netting
When you are buying sports netting, you should pick a sturdier one so that it can tolerate the ball’s speed. The next comes the fitting where you have to attach the net to the ties, hooks and clips. Ensure the netting hangs securely on all sides and leave the front side of the net open for easy access.
5. Adding the surface
This is the fun part, where you can practice by adding a pitch mat. You can pick either synthetic turf, where you can get bounce and durability. You can also use coir mats for spin-friendly practice. Or you can use rubber mats if you are looking for an affordable and durable option.
6. Adding the accessories
If you want training to be fun and more interactive, you can try adding a bowling machine, stumps, lighting, and storage boxes where you can make the cricket playful, fun and organised. These are some of the things you need to consider when you set up backyard sports netting.
Final thoughts
Playing cricket is exciting and fun, especially when you play with family, friends and colleagues. By setting up a backyard net, you can enhance the quality of the game and improve the way you play it.