
How to Clean Your Sony Lens Safely and Effectively
Your Sony lens is a precision optical tool, and keeping it clean is essential for maintaining image quality and ensuring long-term performance. Whether you’re shooting in a studio or out in the field, dust, smudges, and moisture can quickly degrade your results. But improper cleaning can do more harm than good—potentially damaging coatings or scratching the glass.
This guide will walk you through how to clean your Sony lens safely and effectively, using the right tools, techniques, and best practices for both routine maintenance and more intensive cleanings.
Why Proper Lens Cleaning Matters
Even a small speck of dust or fingerprint can reduce contrast, create flares, or distort your image. Over time, accumulated grime can also harm delicate lens coatings and inner elements. Whether you’re using a premium prime or a versatile zoom, proper care ensures your lens continues to deliver sharp, clean results.
Routine maintenance also helps preserve the resale value of your gear and minimizes the risk of fungal growth—especially in humid environments.
What You’ll Need
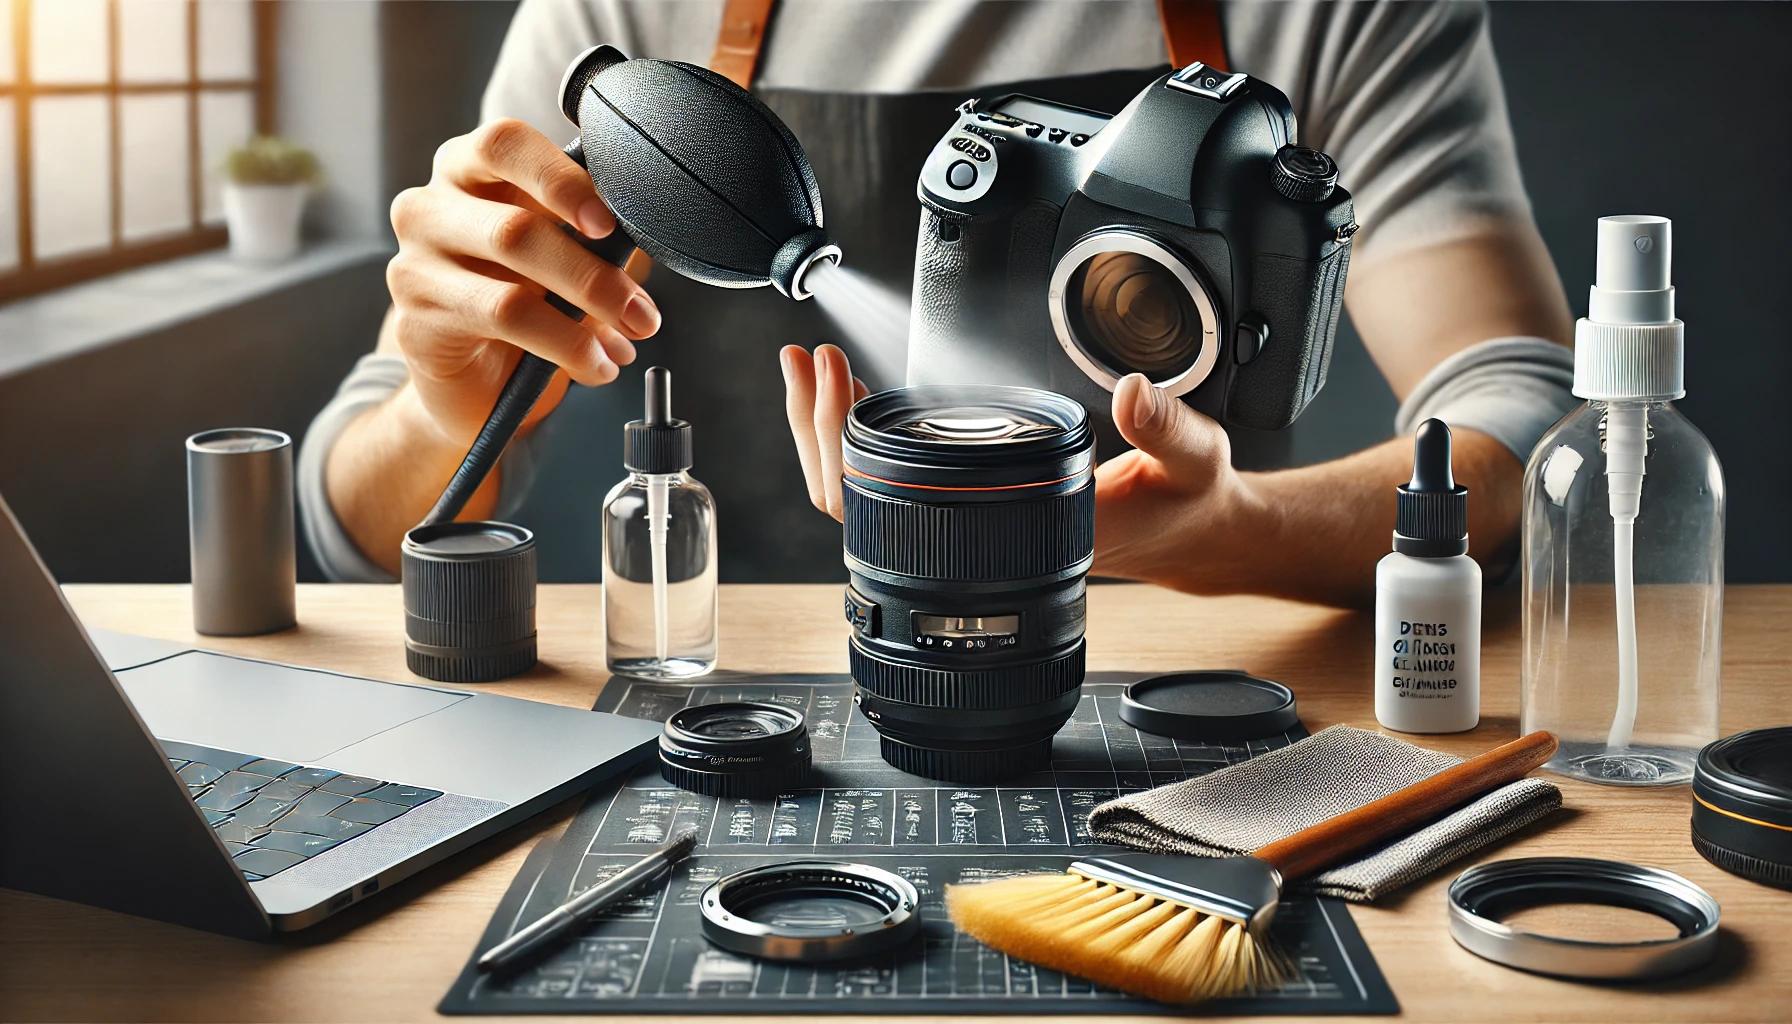
Before you begin, gather the right tools to avoid damaging your lens:
-
Soft microfiber cloth (lint-free and clean)
-
Lens cleaning solution (specifically made for optics)
-
Lens blower (manual air blower, not canned air)
-
Lens brush (anti-static and soft-bristled)
-
Lens cleaning tissue (optional, for single-use convenience)
Avoid using household cleaners, paper towels, or tissues, as they can scratch the lens or leave residue.
Step-by-Step: How to Clean Your Sony Lens
1. Start with the Lens Blower
Hold your lens facing downward and gently blow air across the surface. This removes loose dust and particles. Never wipe the lens before blowing off debris, as doing so could grind particles into the glass and cause micro-scratches.
2. Use a Lens Brush for Persistent Particles
If the blower doesn’t remove all particles, lightly brush the lens with a soft lens brush. Use gentle, circular motions, starting from the center and moving outward. Ensure the brush is clean and kept in a dust-proof container when not in use.
3. Apply Lens Cleaning Solution to the Cloth (Not the Lens)
Spray or drop a small amount of lens cleaning solution onto a microfiber cloth—never directly onto the lens. This prevents excess liquid from seeping into the lens elements or barrel.
4. Wipe Gently in Circular Motions
Use light pressure and clean from the center outward in a spiral pattern. This minimizes streaks and distributes pressure evenly. Avoid scrubbing or pressing too hard, especially near the edges.
5. Dry and Inspect
If any streaks or residue remain, use a dry part of the cloth to buff the lens lightly. Inspect under light to ensure the surface is clean and clear. Repeat if necessary with a fresh area of the cloth.
Tips for Cleaning Rear Elements
The rear glass of your Sony lens is just as important. Follow the same cleaning steps, but be extra cautious—dust or oils on the rear element can affect internal reflections and image quality even more noticeably than front smudges.
Always mount the lens cap quickly after cleaning to prevent re-contamination.
What to Avoid
-
No canned air: It may release propellants that damage coatings or leave residue.
-
No saliva or breath: Moisture from your breath contains bacteria and can stain glass over time.
-
No circular scratching: Never wipe if grit is still on the surface. Always use a blower first.
-
No excessive moisture: Sony lenses are sealed, but repeated exposure to cleaning fluids can still be harmful over time.
Deep Cleaning: When and How
If you’ve shot in especially dirty, wet, or dusty environments, your lens might need more thorough care.
-
Check lens filter threads and rubber grips for dirt buildup.
-
Use a small brush or cotton swab to clean around buttons or seams.
-
Remove any attached UV/protective filters and clean both surfaces.
If internal elements appear dusty or hazy, do not attempt to open the lens yourself. Instead, take it to an authorized Sony service center or experienced technician.
How Often Should You Clean Your Lens?
-
After outdoor shoots: Especially in sand, wind, or rain.
-
Before critical work: Like weddings or commercial photography.
-
When smudges are visible: Such as fingerprints or water spots.
-
Routinely: A quick inspection and light cleaning every few weeks helps avoid buildup.
Recommended Products for Sony Lens Care
If you’re invested in high-performance optics like the Sony AF Series II 50mm f/1.4, checking the sony 50mm 1.4 price in pakistan can give you a sense of just how valuable your gear is—and why protecting it is essential. Quality lenses deserve careful upkeep.
You can also explore compatible filters, cleaning kits, and a wide variety of camera lenses to find gear that matches your style and performance needs.
Final Thoughts
Proper lens cleaning is a simple but essential habit for any photographer. When done correctly, it protects your investment and ensures your Sony lens continues to deliver sharp, beautiful images. With the right tools, gentle technique, and a bit of patience, you can clean your lens safely and effectively—keeping it ready for whatever your next creative shoot demands.


