A Digital Video Recorder (DVR) is traditionally used to store and manage CCTV footage, but recent advancements in technology have made it possible to install CCTV systems without using a DVR. This method offers flexibility, cost savings, and the ability to monitor your cameras remotely via the Internet. Here’s a simple guide on how to set up a CCTV system without a DVR.
Why Install CCTV Without a DVR?
Using CCTV cameras without a DVR can be beneficial for several reasons:
- Cost Savings: No need to buy a separate DVR device.
- Remote Monitoring: You can monitor the cameras in real time from your smartphone, tablet, or PC.
- Flexible Storage Options: Footage can be stored in the cloud or on local storage (such as an SD card).
What You Need:
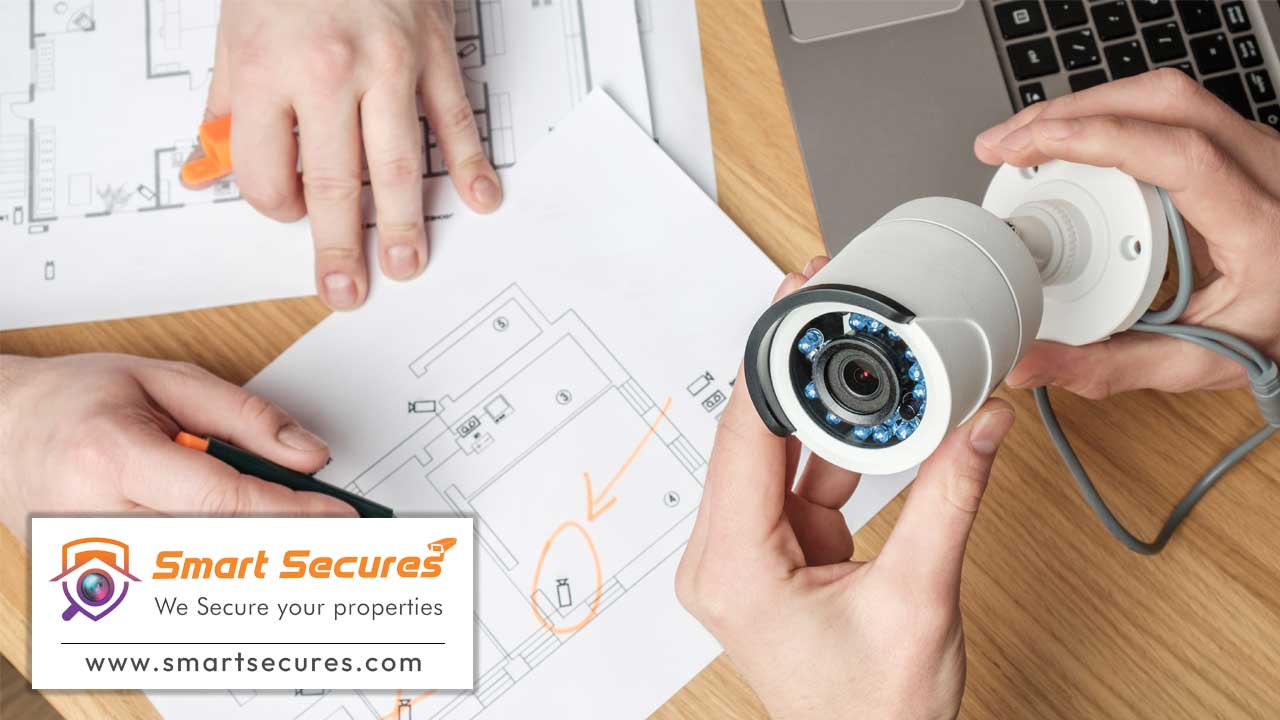
- IP Cameras: These are essential since IP (Internet Protocol) cameras connect directly to your internet network and do not require a DVR to store footage.
- Wi-Fi Router or Ethernet Connection: For the cameras to connect to the internet.
- Mobile Device or PC: To monitor the cameras and adjust settings.
- Cloud Storage Subscription or SD Cards: For storing footage.
Step-by-Step Guide to Installing CCTV Without a DVR
Step 1: Choose IP Cameras
The first step is selecting IP cameras instead of traditional analogue cameras. IP cameras are capable of recording and transmitting data through the internet. Make sure to choose cameras that support cloud storage or have built-in SD card slots for local storage.
Step 2: Set Up Camera Locations
Identify the areas where you want to place your cameras. For better security, install them at entry points like doors, windows, and any other vulnerable locations. Outdoor cameras should be weatherproof, while indoor cameras can be placed near valuables or key rooms.
Step 3: Power the Cameras
IP cameras require power, so make sure each camera is connected to a power source. This could be a standard power adapter or, in the case of PoE (Power-over-Ethernet) cameras, the power will be delivered through the Ethernet cable itself.
Step 4: Connect the Cameras to Your Network
If you’re using Wi-Fi IP cameras:
- Download the camera’s mobile app or access its web interface.
- Follow the instructions to connect the cameras to your Wi-Fi network by entering the SSID and password.
If you’re using wired IP cameras:
- Connect the cameras directly to your router via Ethernet cables.
Step 5: Configure Camera Settings
Using the mobile app or web interface provided by the camera manufacturer, adjust the settings to suit your preferences:
- Resolution Settings: Choose high resolution for clearer footage, but keep in mind that this requires more storage.
- Motion Detection: Enable this feature to ensure the camera records only when motion is detected, saving storage space.
- Alerts: Set up notifications for real-time alerts when suspicious activity is detected.
Step 6: Choose a Storage Option
Since you’re not using a DVR, you’ll need alternative storage methods:
- Cloud Storage: Many IP cameras offer built-in cloud storage options. You can access footage from anywhere using your smartphone or PC.
- SD Cards: If your camera supports local storage, you can insert an SD card to save footage on the device. This is ideal for small-scale setups but may be limited in capacity.
Step 7: Test Your Setup
After installation, check if your cameras are working properly by:
- Viewing the live feed on your smartphone or PC.
- Testing motion detection and alert functions.
- Ensuring that footage is being stored in the selected cloud service or SD card.
Conclusion
Setting up a CCTV system without a DVR is easy and convenient with the right tools and knowledge. By using IP cameras, you can monitor your property remotely, store footage in the cloud, and avoid the cost and complexity of a DVR. This setup is ideal for those seeking a flexible, cost-effective security solution that can be easily managed and expanded as needed.