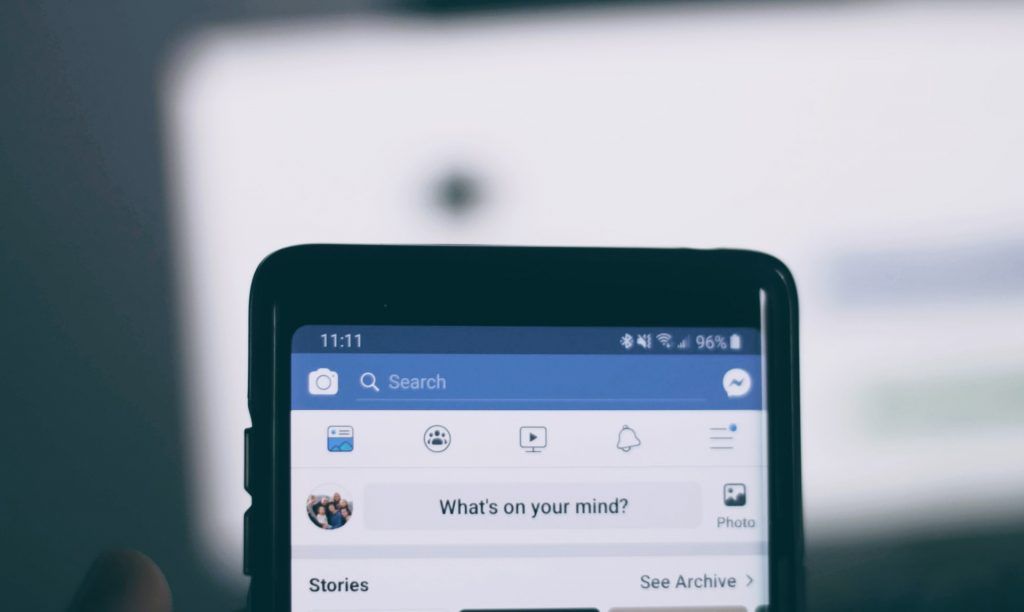
Facebook Live is one of the most powerful tools available for musicians and artists to engage with their fans in real-time. However, one common challenge that many artists face when streaming live is ensuring that their audio quality is up to professional standards. This is where an external audio mixer can make all the difference, especially if you want to stand out in a crowded online space.
Using an external audio mixer for your FB Live using external audio mixer sessions helps to significantly improve the sound quality of your live broadcasts. Whether you’re a solo artist performing an acoustic set or a full band, the quality of your sound matters just as much as the performance itself. Bad sound can turn away potential viewers, while clear, professional audio can keep your audience engaged and enhance their experience.
Why Audio Quality Matters in Live Streaming
The audio quality of your live stream is just as important, if not more so, than the video quality. While people are visually drawn to the content of your live performance, it’s the audio that ultimately creates a lasting impact. A poor sound can make even the most talented musicians sound off-key, while pristine sound allows your performance to shine, enhancing the connection with your audience.
Many Facebook Live broadcasters use their computer’s built-in microphones or low-end USB mics, which simply don’t provide the high-quality audio needed for a professional stream. An external audio mixer allows you to manage multiple audio sources, such as microphones, instruments, or backing tracks, and balance them to create a polished, studio-quality sound.
How to Integrate an External Audio Mixer with FB Live
Getting started with an external audio mixer for your FB Live session may seem intimidating, but it’s easier than you think. Here’s a step-by-step guide to get you set up and ready to broadcast:
- Choose the Right Audio Mixer: Start by selecting an external audio mixer that suits your needs. A basic mixer with multiple inputs can work for solo performances, while a more advanced mixer may be needed for full band setups. Make sure it’s compatible with your streaming software.
- Connect Your Audio Sources: Next, connect your microphones, instruments, or any other audio sources to the mixer. This could include a guitar, keyboard, or even an audio interface for backing tracks.
- Set the Levels: Adjust the levels for each audio source. You’ll want to balance the sound so that no one instrument or voice overpowers the others. Most audio mixers come with simple faders for each input channel, which can be adjusted to create the perfect mix.
- Connect the Mixer to Your Computer: Using an audio interface or USB cable, connect the audio mixer to your computer or streaming device. This will allow your live stream software to pick up the mixed audio signals from the mixer.
- Test Your Setup: Before going live, test everything. Make sure the sound is clear and balanced. You might want to adjust the levels a few times to get the best sound. It’s also a good idea to monitor the audio live via headphones, so you can hear exactly what your audience will experience.
- Go Live on Facebook: Once you’ve tested the audio and are happy with the sound, you’re ready to go live! Open your Facebook app, start your live stream, and let your audience enjoy your performance with high-quality sound.
Tips for Enhancing Your Audio Setup
- Use Professional Microphones: The quality of your microphones plays a huge role in how your audio will sound. Investing in high-quality microphones can make a noticeable difference in your sound.
- Use a Sound Card or Interface: If your audio mixer doesn’t support USB output, use a dedicated sound card or audio interface to connect the mixer to your computer.
- Monitor the Audio During the Stream: Always use headphones to monitor the audio during the stream. This will help you catch any issues early and adjust the sound in real time.
- Adjust for Your Environment: Make sure your live streaming environment is set up to support the best audio. Try to reduce background noise, and use acoustic treatment if needed.
Why Use an External Audio Mixer for Facebook Live?
The main advantage of using an external audio mixer for your FB Live broadcast is the ability to create a truly professional sound. Whether you are performing with a band, playing an acoustic set, or even hosting a Q&A, having a well-mixed sound will make your live stream more engaging and enjoyable for your viewers. A good mix can highlight the best elements of your performance, creating a more dynamic listening experience for your audience.
Furthermore, an external audio mixer allows you to control the sound in ways that the default streaming options on Facebook can’t. You can adjust the equalization (EQ), apply effects like reverb, and manage multiple audio sources all at once. This level of control ensures that your audience hears everything as intended.
Troubleshooting Common Issues
While setting up your mixer is relatively straightforward, there may be some common issues that arise when using an external audio mixer for live streaming:
- Sound Lag: Make sure there is no delay between your audio and video. This can be adjusted in your streaming software.
- Distorted Sound: If you notice any distortion, try lowering the gain or adjusting the volume levels on both your mixer and streaming software.
- No Sound: Ensure that all cables are correctly connected, and check the sound settings in your streaming software.
Conclusion
If you’re looking to improve the quality of your live streams on Facebook, using an external audio mixer is a game-changer. It allows you to manage multiple audio sources and fine-tune your sound, ensuring a professional broadcast that your audience will love. The extra effort you put into perfecting your audio will not only elevate your live performances but also help you build a stronger connection with your fans.