
Canva is a powerful design tool that enables users to create stunning visuals effortlessly. While Canva’s visual design capabilities are well-known, its audio features, such as adding music to your designs, can significantly enhance the overall impact. Whether you’re working on a presentation, a social media post, or any other creative project, adding music can set the mood and make your designs more engaging. In this article, we will explore the step-by-step process of adding music to your Canva designs, ensuring your creations are not only visually appealing but also aurally engaging.
Understanding Canva’s Audio Library Canva provides an extensive library of music tracks, ranging from ambient sounds to upbeat tunes. These tracks can be integrated into your designs to set the right mood and complement the visual elements. The audio library is categorized by genres, moods, and use cases, making it easier to find the perfect track for your project.
Step-by-Step Guide to Adding Music
- Log In and Create a Design: Start by logging into your Canva account and selecting the design template that fits your project. Canva offers a wide variety of templates for different purposes, including presentations, social media posts, and marketing materials.
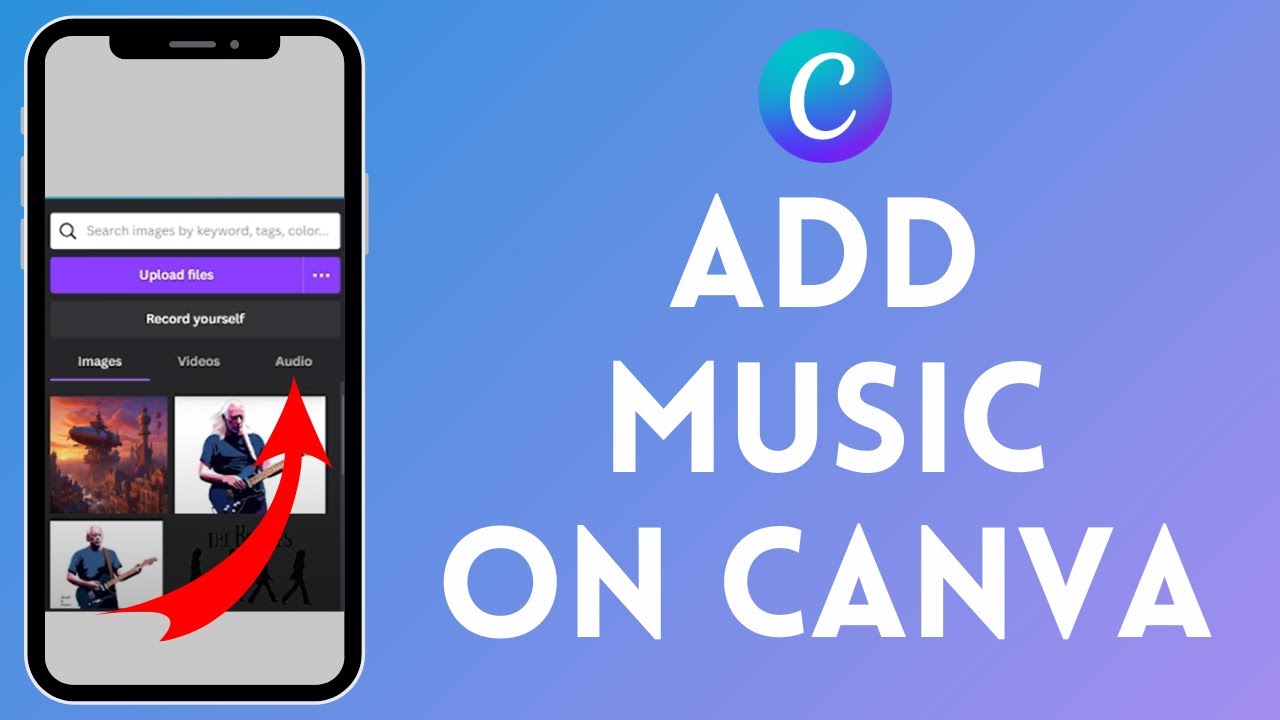
- Access the Audio Tab: Navigate to the left-hand sidebar and click on the ‘Audio’ tab to explore Canva’s music library. If you don’t see the ‘Audio’ tab, it may be because your design type doesn’t support audio, or you might need to upgrade to a Canva Pro account.
- Choose the Right Track: Browse through the available tracks, previewing each to find the perfect match for your design. Canva’s library is equipped with filters that allow you to sort music by genre, mood, and duration, making it easier to find the right track quickly.
- Add Music to Your Design: Drag and drop your selected track onto your design canvas. Canva will automatically integrate the audio with your visual elements. You will see the track appear as a small audio player icon on your design, which you can move and resize as needed.
- Adjust Audio Settings: Customize the audio settings, such as volume and playback duration, to align with your design requirements. You can trim the track to fit the length of your design and adjust the volume to ensure the music complements rather than overpowers the visual elements.
Benefits of Adding Music Adding music to your Canva designs can significantly enhance the overall impact and engagement of your project. Here are some key benefits:
- Enhance Viewer Engagement: Music can captivate your audience’s attention and keep them engaged with your content. A well-chosen track can evoke emotions and make your design more memorable.
- Set the Tone and Mood: The right music can set the desired tone for your design, whether it’s professional, relaxed, energetic, or emotional. This can help convey your message more effectively and create a cohesive experience for the viewer.
- Make Presentations More Dynamic: Adding music to presentations can break the monotony and keep your audience interested. Background music can also smooth transitions between slides and create a more polished presentation.
Tips for Selecting the Right Music
- Match the Theme: Ensure the music aligns with the overall theme of your design. For example, choose upbeat music for a lively social media post or soothing background music for a relaxing presentation.
- Consider Your Audience: Select tracks that resonate with your target audience. Think about their preferences and what kind of music would enhance their experience with your content.
- Keep it Subtle: Avoid overpowering the visuals with loud or distracting music. The audio should complement the visuals, not compete with them. Adjust the volume and choose tracks that enhance rather than detract from your design.
Advanced Tips for Using Music in Canva
- Use Multiple Tracks: For longer projects, consider using multiple tracks to maintain variety and interest. Canva allows you to layer different audio tracks, giving you more creative control over your project.
- Fade-In and Fade-Out Effects: Use fade-in and fade-out effects to make the transitions between different sections of your design smoother. This can be particularly useful in presentations or video projects.
- Synchronize with Visual Elements: Sync the music with key visual elements or transitions to create a more cohesive and impactful design. For example, time the music to change with major transitions or highlight important sections of your presentation.
Common Mistakes to Avoid
- Overloading with Audio: Avoid using too many audio elements in a single design, as it can become overwhelming and distracting. Focus on quality over quantity and choose tracks that enhance your message.
- Ignoring Licensing: Ensure that the music you choose complies with licensing agreements, especially if your design will be used for commercial purposes. Canva provides royalty-free music tracks, but it’s important to check the licensing details.
- Neglecting Audio Quality: Use high-quality audio tracks to ensure a professional and polished final product. Poor audio quality can detract from the overall impact of your design.
Incorporating music into your Canva designs can transform static visuals into immersive experiences. By following the simple steps outlined above, you can easily add audio elements to your projects, creating a more engaging and dynamic presentation. Whether you’re designing for business, education, or personal projects, adding music can elevate your content and leave a lasting impression on your audience.
Have you tried adding music to your Canva designs? Share your experiences and tips in the comments below! What type of music do you find most effective for different types of projects?
Related Articles:
For further reading, explore these related articles:


Профессиональный сервисный центр по ремонту бытовой техники с выездом на дом.
Мы предлагаем:сервисные центры по ремонту техники в мск
Наши мастера оперативно устранят неисправности вашего устройства в сервисе или с выездом на дом!