A washing machine that fails to respond often signals a control-related concern rather than a mechanical fault. In many cases, attention turns to the console assembly, where commands, settings, and indicators originate. When operation becomes inconsistent, careful evaluation is essential. As the inspection progresses, homeowners begin to recognize how control inputs affect overall washer behavior within the home appliance. Understanding these relationships reduces guesswork and improves repair accuracy. Rather than focusing on isolated symptoms, this article examines control failures step by step, identifies common trouble points, and analyzes replacement considerations in a structured, practical manner.
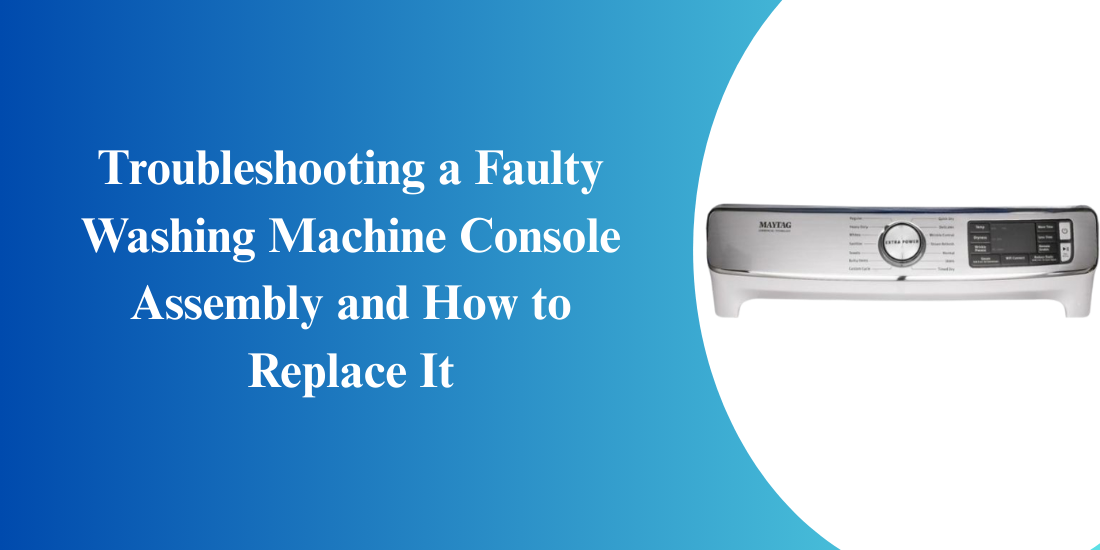
Common Signs of a Faulty Washing Machine Console Assembly
Recognizing early warning signs prevents control issues from escalating. Gradual changes in responsiveness, display behavior, or operation help guide timely diagnosis and support informed repair decisions before complete washer failure occurs.
- Unresponsive Buttons Or Knobs: Controls respond inconsistently, requiring repeated presses or loose knob rotation. Over time, the console assembly may transmit incomplete signals, causing commands to register sporadically and reducing normal washer reliability overall.
- Display Or Indicator Failures: A flickering or blank display indicates internal disruption. When the washing machine console assembly not working, symbols disappear or appear incomplete, pointing to circuit or connection problems within the console assembly.
- Erratic Cycle Selection Behavior: Unexpected cycle changes, skipped settings, or resets show inconsistent control communication. The console assembly may misinterpret inputs, leading to unstable operation that affects wash timing, selection accuracy, and cleaning results.
- Physical Control Panel Damage: Cracks, warping, or looseness around controls often signal that console assembly damaged the housing. Structural damage exposes internal parts, disrupts connections, and accelerates control failure if not addressed promptly by technicians.
- Intermittent Power Or Response: Sporadic power loss or mid-cycle shutdowns indicate compromised electrical continuity. Loose wiring or worn contacts cause the washing machine console assembly not working consistently, resulting in unpredictable washer responses and behavior.
- Unusual Feedback During Use: Delayed responses, missing indicator lights, or muted feedback suggest processing issues. The console assembly may still function partially, but reduced responsiveness signals advancing control degradation requiring further inspection and evaluation.
Steps to Troubleshoot a Faulty Washing Machine Console Assembly
A washing machine may act erratically when its control system fails. Symptoms include cycles not starting, unresponsive buttons, or abnormal displays. Troubleshooting helps homeowners decide between adjustment or console replacement.
# Step 1: Begin with External Visual Inspection
Initial troubleshooting begins with inspecting the control area. Homeowners should look for cracks, loose buttons, or visible wear on the home appliance to determine whether the console assembly shows physical damage.
- Look for cracks, loose panels, or misaligned controls
- Check for signs that the console assembly damaged the housing
- Press buttons gently to detect uneven or stuck movement
# Step 2: Verify Power Delivery to the Control Panel
A nonresponsive console may lack steady power. Homeowners should verify the home appliance connection and inspect internal wiring to the console assembly before concluding an internal control failure.
- Confirm the washer powers on normally
- Inspect wiring connections behind the panel
- Look for loose connectors that may cause washing machine console assembly not working
# Step 3: Test Control Buttons and Selector Responses
Each button and selector transmits commands through the console assembly. Delayed or inconsistent responses make input testing essential, as repeated failures usually indicate internal control wear rather than external interference.
- Press each button individually and note the response.
- Rotate selectors slowly to feel resistance changes
- Identify controls that fail consistently, signaling washing machine console assembly not working
# Step 4: Inspect Internal Wiring and Connectors Carefully
Vibration during washer operation can loosen wiring over time. Once the control panel is accessible, examining connectors ensures signals are transmitted correctly. Poor connections may mimic console failure even when the console assembly remains functional.
- Check for disconnected or misaligned wiring
- Look for discoloration on connectors
- Secure loose wiring that may affect console assembly operation
# Step 5: Assess Display Indicators and Feedback Signals
Display behavior reveals control of condition. Flickering lights, incomplete characters, or delayed responses often indicate internal console problems. Homeowners noticing these signs should evaluate whether the console assembly needs further inspection.
- Watch for blinking or unresponsive display sections
- Test indicator lights across different cycles
- Persistent display issues may point to console assembly damaged the housing
# Step 6: Confirm Control Panel Stability and Mounting
A loosely mounted console can shift during operation, interrupting connections. Ensuring proper mounting reduces stress on internal components. This step helps maintain reliable interaction between the console assembly and the rest of the home appliance.
- Tighten mounting screws evenly
- Ensure the panel sits flush against the frame
- Movement during operation may affect console assembly reliability
# Step 7: Run Functional Tests after Adjustments
After completing inspections and adjustments, functional testing confirms results. Running short cycles allows homeowners to verify whether the console assembly responds consistently under operation.
- Restore power and run a brief cycle
- Test all buttons and displays
- Confirm normal operation without delays or errors
How to Replace a Faulty Washing Machine Console Assembly
Replacing a malfunctioning control panel restores proper washer operation and prevents further functional issues. A careful, step-by-step approach ensures the process is completed safely and accurately without disrupting surrounding components.
Prepare Tools and Workspace
Before beginning, disconnect the washer from its power source and clear the surrounding area. Adequate lighting and organized tools reduce errors during removal and installation. As homeowners prepare the home appliance for service, taking photos of the existing setup helps guide correct reassembly later.
Access the Control Panel
Remove knobs, trim pieces, or fasteners securing the control section. Gently lift the panel to expose internal wiring and mounting points. At this stage, signs such as loose wiring or cracked mounts may explain why the washing machine console assembly not working properly.
Disconnect Wiring Carefully
Label each wire connector before disconnecting to avoid errors during reinstallation. Pull connectors straight out without twisting. Careful handling prevents further issues, especially when the console assembly damaged the housing or shows stress marks near connection points.
Remove the Faulty Console
Once wiring is disconnected, release mounting screws or clips holding the console in place. Lift the old console assembly slowly, ensuring no wires remain attached. Inspect the mounting surface for residue or damage that could affect the new installation.
Install the Replacement Unit
Position the new console assembly evenly, aligning it with mounting points. Reconnect all labeled wires securely, confirming each connection matches its original position. Proper alignment ensures reliable operation and helps protect the internal structure of the home appliance.
Test and Reassemble Fully
Restore power and test each control function before fully reassembling the panel. Confirm buttons, selectors, and displays respond correctly. If the operation is stable, secure the panel and reinstall external components. Final testing verifies the console assembly replacement was successful and complete.
Common Mistakes to Avoid When Replacing a Washing Machine Console Assembly
Replacing control components demands precision and a structured process. Homeowners working on a home appliance must avoid small mistakes during removal or reassembly to ensure the console assembly operates correctly and delivers reliable washer performance.
- Reconnecting wires incorrectly, leading to washing machine console assembly not working after installation
- Applying excessive force, which may leave the console assembly damaged the housing misaligned,
- Skipping visual inspection before power restoration, increasing the risk of missed connection issues
- Failing to secure mounting points evenly, causing movement during operation
- Neglecting final testing, which may hide remaining console assembly faults
Accurate washer repair depends on careful observation and structured testing. Control-related faults often appear complex until evaluated step by step. As homeowners progress through inspection and testing, patterns become easier to interpret within the home appliance. A properly handled console assembly restores reliable operation and prevents repeat issues. Ignoring early warning signs may result in the washing machine console assembly not working even after partial fixes. Attention to wiring, alignment, and final testing ensures the console assembly performs consistently. When installed correctly, long-term reliability improves and unnecessary rework is avoided.
HnK Parts offers a wide selection of home and kitchen repair parts, including dryer parts, dishwasher components, and refrigeration parts, with prompt shipping to support reliable home appliance repairs using quality replacement solutions.