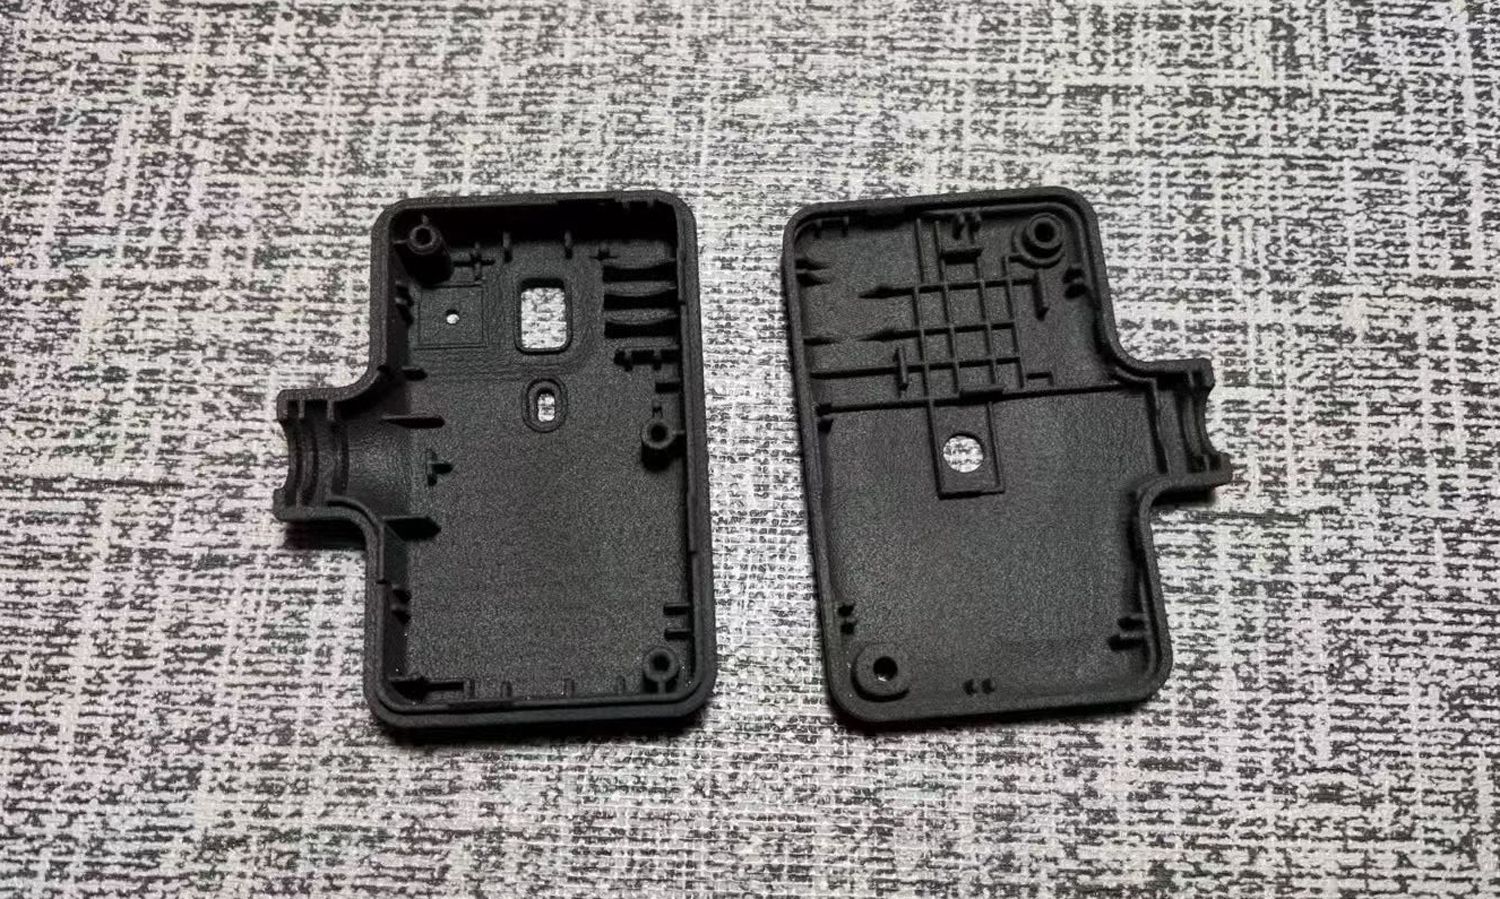
Selective Laser Sintering (SLS) rapid prototyping is an additive manufacturing technology with high resolution, which is versatile regarding material palette – it can work with nylon, polyamide and metal powders. Nevertheless, the main aim of SLS rapid prototyping is to achieve good-quality results. That is why you need to optimize your design to have efficient rapid prototyping sls.
This article will talk about some techniques and suggestions that can be helpful when it comes to the use of SLS rapid prototyping and the attainment of better results.
Be familiar with the SLS Rapid Prototyping Process
Before going to optimizing techniques, it is useful to have a proper understanding of the SLS rapid prototyping process. SLS rapid prototyping is defined as the selective fusion of powdered material with the help of a high-power laser beam. The laser performs the sectional design of the part, melting and fusing the powder particles. Once a layer is finished the next layer is powdered and the process repeats until the entire part is built.
Design to get the Maximum Strength and Durability
The SLS rapid prototyping technology is characterized by the production of reliable and robust parts as one of its key benefits. Take a look:
- Wall Thickness: Throughout your design, make sure you maintain the correct wall thickness. Thicker wall panels often provide more strength, but too many millimeters excess can cause warping or use more material.
- Reinforcement Structures: Reinforce your structure with reinforcement structures such as ribs, gussets, or lattice patterns to make your structure stronger and resistant to bending.
- Surface Finish: Provide a laser finish that is smooth by adjusting the laser power and scanning technique. The part’s durability and wear resistance can be enhanced by a smoother surface finish.
Reduce the Powder Residue and Post-Processing
The fact is that rp sls technology creates the highest quality parts, but some post-processing is sometimes necessary to clean the residue and improve the surface quality.
- Self-Supporting Designs: Create parts that can stand on their own if possible. It does away with the necessity of support structures hence lessening the post-processing efforts and the material waste.
- Drainage Holes: Provide the networks of drainage holes or water channels for your design that will be used for the extraction of powder with the unsintered particles after the build process.
- Surface Finishing: Among the other things, you could add designs that are more convenient to surface finishing like chamfers and filets that will definitely enhance the look of your part in the end.
Design for Heat Transfer and Thermal Expansion Efficiency
The sintering process of sls 3d printing rapid prototyping involves high temperature and as the output is a result of thermal expansion, there is a high probability of warping or distortion of parts. To mitigate these issues, consider the following:
- Part Orientation: Focus on positioning your parts during the build stage for heat dissipation and limiting thermal expansion.
- Cooling Channels: Add cooling channels or vents to design conditions to enhance heat dissipation and minimize warping or distortion risk.
- Material Selection: Select materials with low coefficients of thermal expansion in order to make the process of the build less temperature dependent.
These tips and tricks when applied can make your designs best suited for SLS rapid prototyping leading to high-quality, accurate, and functional parts that match up with your specific requirements. Recall that the success of SLS rapid prototyping is based on the understanding of the process, the ability to use its unique features, and the imperative to re-invent the design approach.


Наша мастерская предлагает высококачественный мастер по ремонту ноутбука в москве всех типов и брендов. Мы знаем, насколько важны для вас ваши ноутбуки, и обеспечиваем ремонт первоклассного уровня. Наши профессиональные техники работают быстро и аккуратно, используя только сертифицированные компоненты, что обеспечивает долговечность и надежность выполненных работ.
Наиболее распространенные поломки, с которыми сталкиваются владельцы ноутбуков, включают неисправности HDD, поврежденный экран, неисправности программного обеспечения, неработающие разъемы и перегрев. Для устранения этих проблем наши профессиональные техники выполняют ремонт жестких дисков, экранов, ПО, разъемов и систем охлаждения. Обратившись к нам, вы обеспечиваете себе долговечный и надежный мастер по ремонту ноутбуков с гарантией.
Подробная информация доступна на сайте: https://remont-noutbukov-first.ru
Useful article. With learning Trading Tips you can earn more money and build your life better, to read a lot of useful free tutorial about this topic see https://mohammadtaherkhani.com website.