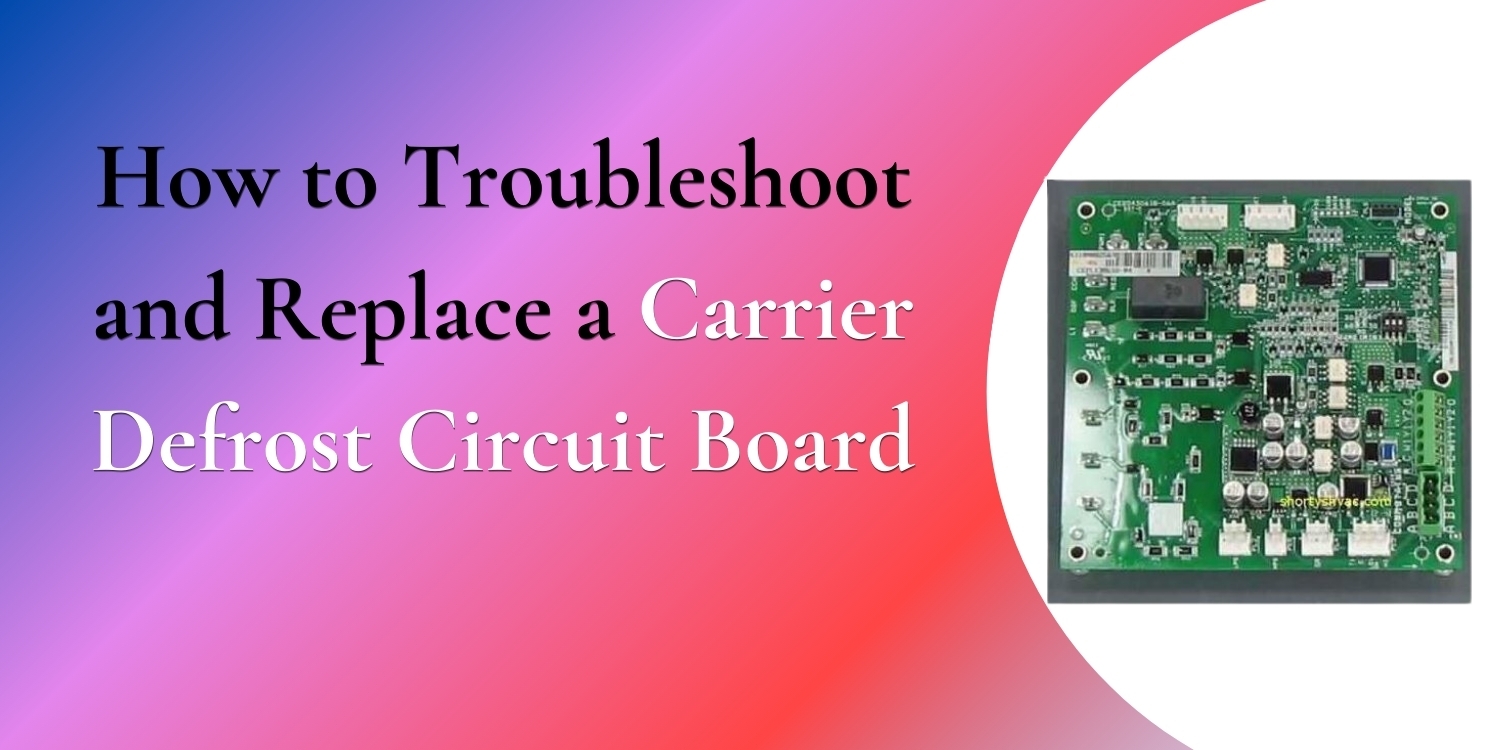
The defrost circuit board is a critical component in Carrier HVAC systems, playing an essential role in maintaining efficient operation by preventing ice buildup and managing defrost cycles. When this component malfunctions, it can lead to a variety of issues, including inefficient heating and cooling, system failure, and increased energy consumption. This guide provides a comprehensive, step-by-step approach to troubleshooting and replacing a faulty defrost circuit board, ensuring your HVAC system remains in optimal working condition. The defrost circuit board is responsible for controlling the defrost cycle in an HVAC system. Its primary function is to prevent ice from accumulating on the evaporator coil, which can impede the system’s performance and efficiency. When the defrost board malfunctions, it can cause issues such as ice buildup on the evaporator coil, inefficient defrost cycles, or the system failing to defrost properly. Recognizing these symptoms is the first step in diagnosing a problem with the defrost circuit board.
Additionally, it’s crucial to take safety precautions:
- Turn off power to the HVAC unit to prevent electrical shock.
- Use insulated tools to avoid any electrical hazards.
- Wear protective gloves and eyewear to safeguard against injury.
Troubleshooting the Carrier Defrost Circuit Board
- Initial Inspection: Start with a visual inspection of the defrost circuit board and related components. Look for obvious signs of damage, such as burnt components, loose connections, or corrosion. Ensure the unit is powered off before performing any inspections to avoid electrical shock.
- Testing with a Multimeter: Use a multimeter to test the defrost circuit board. Set the multimeter to the appropriate voltage range and test the input and output terminals. Compare the readings to the manufacturer’s specifications. Normal voltage readings indicate a functioning board, while abnormal readings suggest a fault. This step helps determine whether the issue lies with the board or another component in the system.
- Checking Connections and Wiring: Inspect the wiring and connections for signs of corrosion, loose connections, or damage. Ensure all connections are secure and properly seated. Loose or damaged wires can cause malfunctions in the defrost circuit board, leading to improper defrost cycles or complete system failure.
- Examining Related Components: Check other components that work with the defrost circuit board, such as the defrost thermostat and sensors. These components are essential for the defrost cycle and can also be the source of the problem. Identifying whether the issue is with the defrost circuit board or another component is crucial for effective troubleshooting.
Replacing the Carrier Defrost Circuit Board
- Purchasing the Correct Replacement Board: Identify the correct replacement part by matching the model and specifications of the defrost circuit board to your HVAC system. Purchase the replacement board from reputable suppliers such as PartsHnC to ensure compatibility and quality.
- Removing the Old Defrost Circuit Board: Ensure the HVAC unit is powered off before removing the old Carrier defrost circuit board. Carefully disconnect all wires and remove the mounting screws to take out the old board. Handle and dispose of the old board according to local regulations to avoid environmental hazards.
- Installing the New Defrost Circuit Board: Align the new defrost circuit board properly in the mounting area, secure it with screws, and reconnect all wires according to the wiring diagram. Double-check all connections to ensure they are secure. Proper installation is critical to ensure the new board functions correctly and safely.
- Testing the New Installation: After installing the new defrost circuit board, restore power to the HVAC unit. Run the system and monitor the defrost cycle to ensure proper operation. Observe the system to confirm it defrosts correctly and operates efficiently. If any issues arise, recheck the connections and installation steps.
Post-Replacement Tips
To prolong the life of the new defrost circuit board, follow these maintenance tips:
- Schedule regular inspections and cleanings to ensure the system operates efficiently.
- Monitor the system for signs of issues such as ice buildup or inefficient defrost cycles.
- Address any problems promptly to prevent further damage and maintain system performance.
This article has provided a comprehensive overview of troubleshooting and replacing a Carrier defrost circuit board. Spares available at PartsHnC Regular maintenance and timely replacement of faulty components are essential for ensuring the efficient operation of your HVAC system. Proper care and attention to your HVAC system will keep it running smoothly and efficiently for years.


