

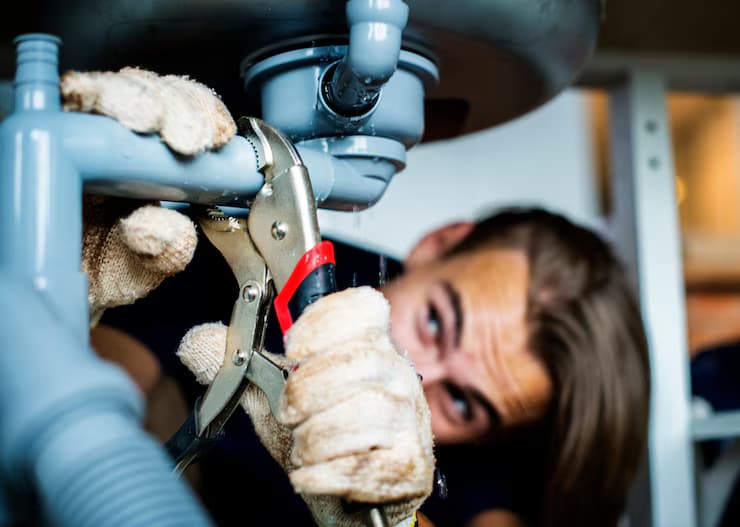
Water damage can be one of the most devastating issues a homeowner can face. Whether caused by a natural disaster, a leaky roof, burst pipes, or flooding, the consequences can be overwhelming. Understanding the water damage repair process is crucial for effective recovery and restoration. This guide will walk you through the essential steps involved in water damage repair, what to expect, and how to best protect your home.
1. Recognizing the Signs of Water Damage
The first step in addressing water damage is recognizing the signs. Some common indicators include:
- Visible Water Puddles: This is the most apparent sign of water damage. Any standing water in your home should be addressed immediately.
- Stains on Walls or Ceilings: Discoloration or dark spots can indicate water intrusion.
- Peeling Paint or Wallpaper: Water can cause paint and wallpaper to bubble or peel away from the surface.
- Mold Growth: If you notice mold or mildew, it can indicate persistent moisture issues.
- Musty Odors: A damp, musty smell can be a sign of hidden water damage.
If you observe any of these signs, it’s essential to act quickly to mitigate further damage and initiate the water damage repair process.
2. Assessing the Damage
Once you recognize the signs of water damage, the next step is to assess the extent of the damage. This may involve:
- Visual Inspection: Look for obvious signs of damage, such as water-stained ceilings, warped flooring, or damp walls.
- Check for Moisture: Use a moisture meter to check the humidity levels in affected areas. High moisture levels can indicate hidden damage.
- Identify the Source: Understanding where the water is coming from is crucial for effective repair. Is it from a roof leak, a broken pipe, or flooding? Identifying the source will help prevent future issues.
3. Contacting Professionals
After assessing the damage, it’s often advisable to contact professionals specializing in water damage repair. These experts are trained to handle the complexities of water damage restoration, ensuring the job is done safely and effectively. When contacting a water damage repair company, be prepared to provide the following information:
- The extent of the damage
- The source of the water intrusion
- Any immediate steps you’ve taken to mitigate damage (like turning off water sources)
4. Water Extraction
The first step a professional will take in the water damage repair process is to remove standing water. This can be done using various tools, including:
- Wet/Dry Vacuums: These can help remove small amounts of standing water quickly.
- Pumps: For larger areas or significant flooding, submersible pumps may be necessary.
Once the standing water is removed, the area will be evaluated to ensure no pockets of water remain, which could lead to mold growth and further damage.
5. Drying and Dehumidification
After water extraction, the next crucial step is drying and dehumidification. Professionals will utilize industrial-strength fans and dehumidifiers to remove moisture from the air and surfaces. This step is vital for several reasons:
- Preventing Mold Growth: Mold thrives in damp environments. Thorough drying can significantly reduce the risk of mold developing.
- Restoring Structural Integrity: Prolonged exposure to moisture can weaken materials such as wood and drywall. Proper drying helps maintain the structural integrity of your home.
This process may take several days, depending on the extent of the water damage and the materials involved.
6. Cleaning and Sanitizing
Once the area is dry, the next step is cleaning and sanitizing. Water damage can introduce bacteria, fungi, and other pathogens into your home. Cleaning may involve:
- Cleaning Surfaces: All surfaces affected by water should be cleaned thoroughly to remove dirt, debris, and contaminants.
- Using Anti-Microbial Treatments: Depending on the extent of the water damage and potential contamination, professionals may apply anti-microbial treatments to prevent mold and bacteria growth.
7. Repairing and Restoring
After cleaning and sanitization, the actual repair process can begin. This may involve:
- Drywall Replacement: Damaged drywall may need to be removed and replaced, especially if it is warped or saturated with water.
- Flooring Repair: Depending on the type of flooring, you may need to replace carpet, tiles, or hardwood that has been damaged.
- Structural Repairs: In cases of severe damage, structural components like beams or joists may need repair or replacement.
The goal of this stage is to return your home to its pre-damaged condition.
8. Preventing Future Water Damage
Once repairs are complete, taking steps to prevent future water damage is essential. Here are some preventive measures:
- Regular Inspections: Conduct regular inspections of your roof, plumbing, and appliances to catch potential issues before they become major problems.
- Maintain Gutters and Downspouts: Ensure gutters are clear of debris and that downspouts direct water away from your home’s foundation.
- Install Sump Pumps: In areas prone to flooding, consider installing a sump pump to remove excess water.
- Check for Leaks: Regularly check under sinks, around appliances, and in the basement for any signs of leaks.
Conclusion
Understanding the water damage repair process is crucial for any homeowner. By recognizing the signs of water damage, assessing the extent of the issue, and contacting professionals, you can navigate the repair process more effectively. Prompt action not only minimizes damage but also protects your home from future issues.
Whether you’re dealing with a minor leak or a major flood, water damage repair is an essential process that ensures the safety and integrity of your home. Being proactive and informed will empower you to tackle any water damage issues that arise, ensuring your home remains a safe and comfortable place for you and your family.