A dripping sink drain in a commercial kitchen may not appear to be a major problem, but it can cause major problems if not fixed. From water damage to making conditions dangerous in a busy kitchen, a leak that is not fixed becomes worse. Fortunately, repairing a leaky sink drain does not always have to involve a professional plumber to do the job. In this article, we will explain how you can repair a leaking drain in three easy steps and get your kitchen back to normal.
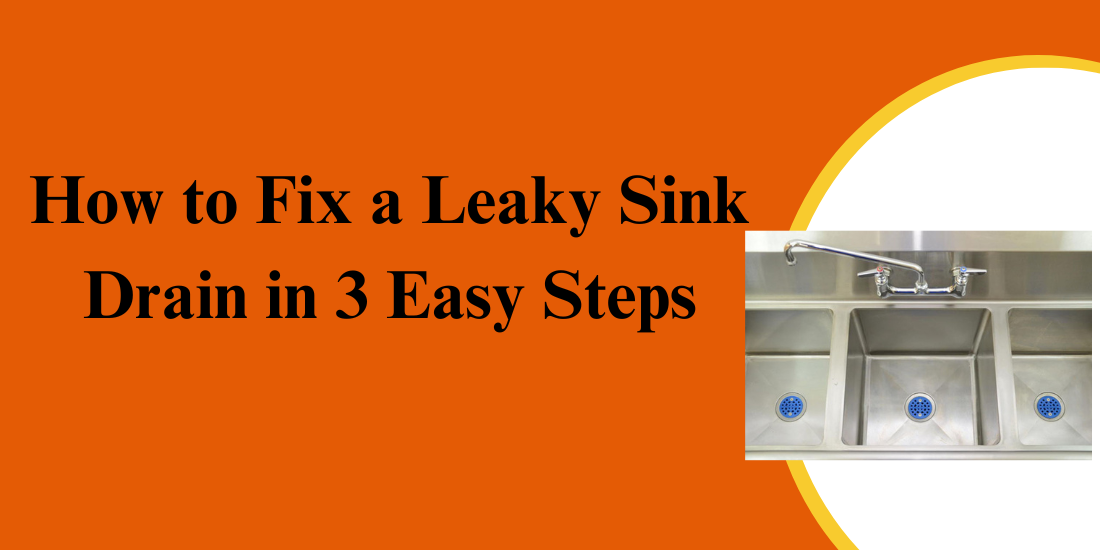
Steps to Fix a Leaky Sink Drain in Commercial Kitchens
Here are the essential steps to fix a leaky sink drain in commercial kitchens and get your operations back on track.
Step 1: Identify the Source of the Leak
Finding the exact point of the leak is crucial before beginning any repairs. A leaking drain can occur for various reasons, so pinpointing the cause is the first step in fixing the problem effectively. Common causes of sink drain leaks in commercial kitchens include:
- Worn-out washers or gaskets: These components seal the drain to the sink and prevent leaks. Over time, they can deteriorate and fail.
- Some of the drain pipes may become loose and this will lead to the escape of water from the sink.
- Damaged drain pipes and fittings: This is due to the fact that drain pipes and fittings are prone to cracking due to constant use or exposure to heat.
- Drain blockage: This may result to water backing up and causing leakage around the drain connections.
To locate the leak, start by inspecting the drain area beneath the sink. Look for signs of moisture or water pooling around the sink drain parts. To see the drainage system clearly, you might need to remove the sink trap, which is the U-shaped pipe beneath the sink. This will assist you in identifying any loose, broken, or deteriorating system components.
Step 2: Fix the Leak
With the water supply turned off and the leak identified, you can now proceed with fixing the drain. The specific steps you’ll take depend on the cause of the leak.
1.Replacing Worn-out Washers or Gaskets
If a worn-out washer or gasket is the cause of the leak, take the following actions.
- Remove the old washer or gasket: Use your pliers or adjustable wrench to loosen the drain connection and remove the damaged washer or gasket.
- Prepare the area: Before fitting a new washer or gasket, ensure that the surrounding area is clean to eliminate any dirt, oil, or dust. You can use a pipe cleaner or brush for this.
- Replace the washer or gasket: Position the new washer or gasket over the drain connection and make sure that it fits well.
- Reassemble the drain: Reconnect the drain assembly, tightening the connections with your wrench or pliers to ensure a secure fit.
2.Tightening Loose Connections
If the leak is caused by loose drain connections, you’ll need to:
- Secure the fittings: To tighten any loose nuts, bolts, or connections surrounding the drain, use pliers or an adjustable wrench. Do not over tighten it because this may cause some damage to the pipes or the fittings.
- Check for leaks: Flip the water supply back on after tightening the connections, then look for any indications of leaks. Gaskets or the drain assembly may need to be replaced if the leak continues.
3.Replacing Cracked Pipes or Fittings
If the pipes or fittings are cracked, they will need to be replaced. Follow these steps:
- Remove the damaged pipe or fitting: You can use a wrench or pliers to take out the cracked pipe or fitting from the rest of the drain system.
- Replace the new pipe or fitting: Ensure that the new pipe or fitting is correctly positioned on the existing drain assembly. Make sure that it is tightly and firmly placed.
- Seal the joints: To ensure a watertight seal, wrap pipe tape or plumber’s tape across the pipe threads before joining them.
- Tighten the connections: Use the wrench or pliers to tighten the connections.
4.Clearing a Clogged Drain
If the leak is due to a clogged drain, then the obstruction will have to be cleared. Here’s how:
- Take out the sink trap: The U-shaped pipe can be removed by using an adjustable wrench or pliers.
- Clear the clog: To clear the clog, use a drain auger or plunger. If needed, use a pipe brush to clear the trap of any accumulated grease or other substances.
- Reconnect the drain: After the clog has been cleared, reconnect the sink trap and ensure that the connections are tightened.
Step 3: Test the Repair
After the leak has been sealed, the next step is to check if the repair was done correctly. Follow these steps:
- Open the shut-off valve: Unscrew the valve in the opposite direction to turn the water supply back on the sink.
- Check for leaks: Turn on the faucet and let the water run. Inspect all areas around the drain for any signs of leaking.
- Make a detailed check: Make sure there are no leaks by running the water for a few minutes. Before you start working again, you must make sure the drain is operating correctly.
Fixing a leaky sink drain in a commercial kitchen is straightforward with the right approach. Maintenance is important to avoid problems and keep the systems running efficiently. If the issue persists, hiring a professional plumber is likely to be necessary.
Written by Allen Rode for PartsFe, your trusted source for a variety of high-quality commercial restaurant equipment, including sink parts and oven parts.